How to Create DIY Robot Toys Using Blanket Primary Techniques
Category : robottx | Sub Category : robottx Posted on 2023-10-30 21:24:53
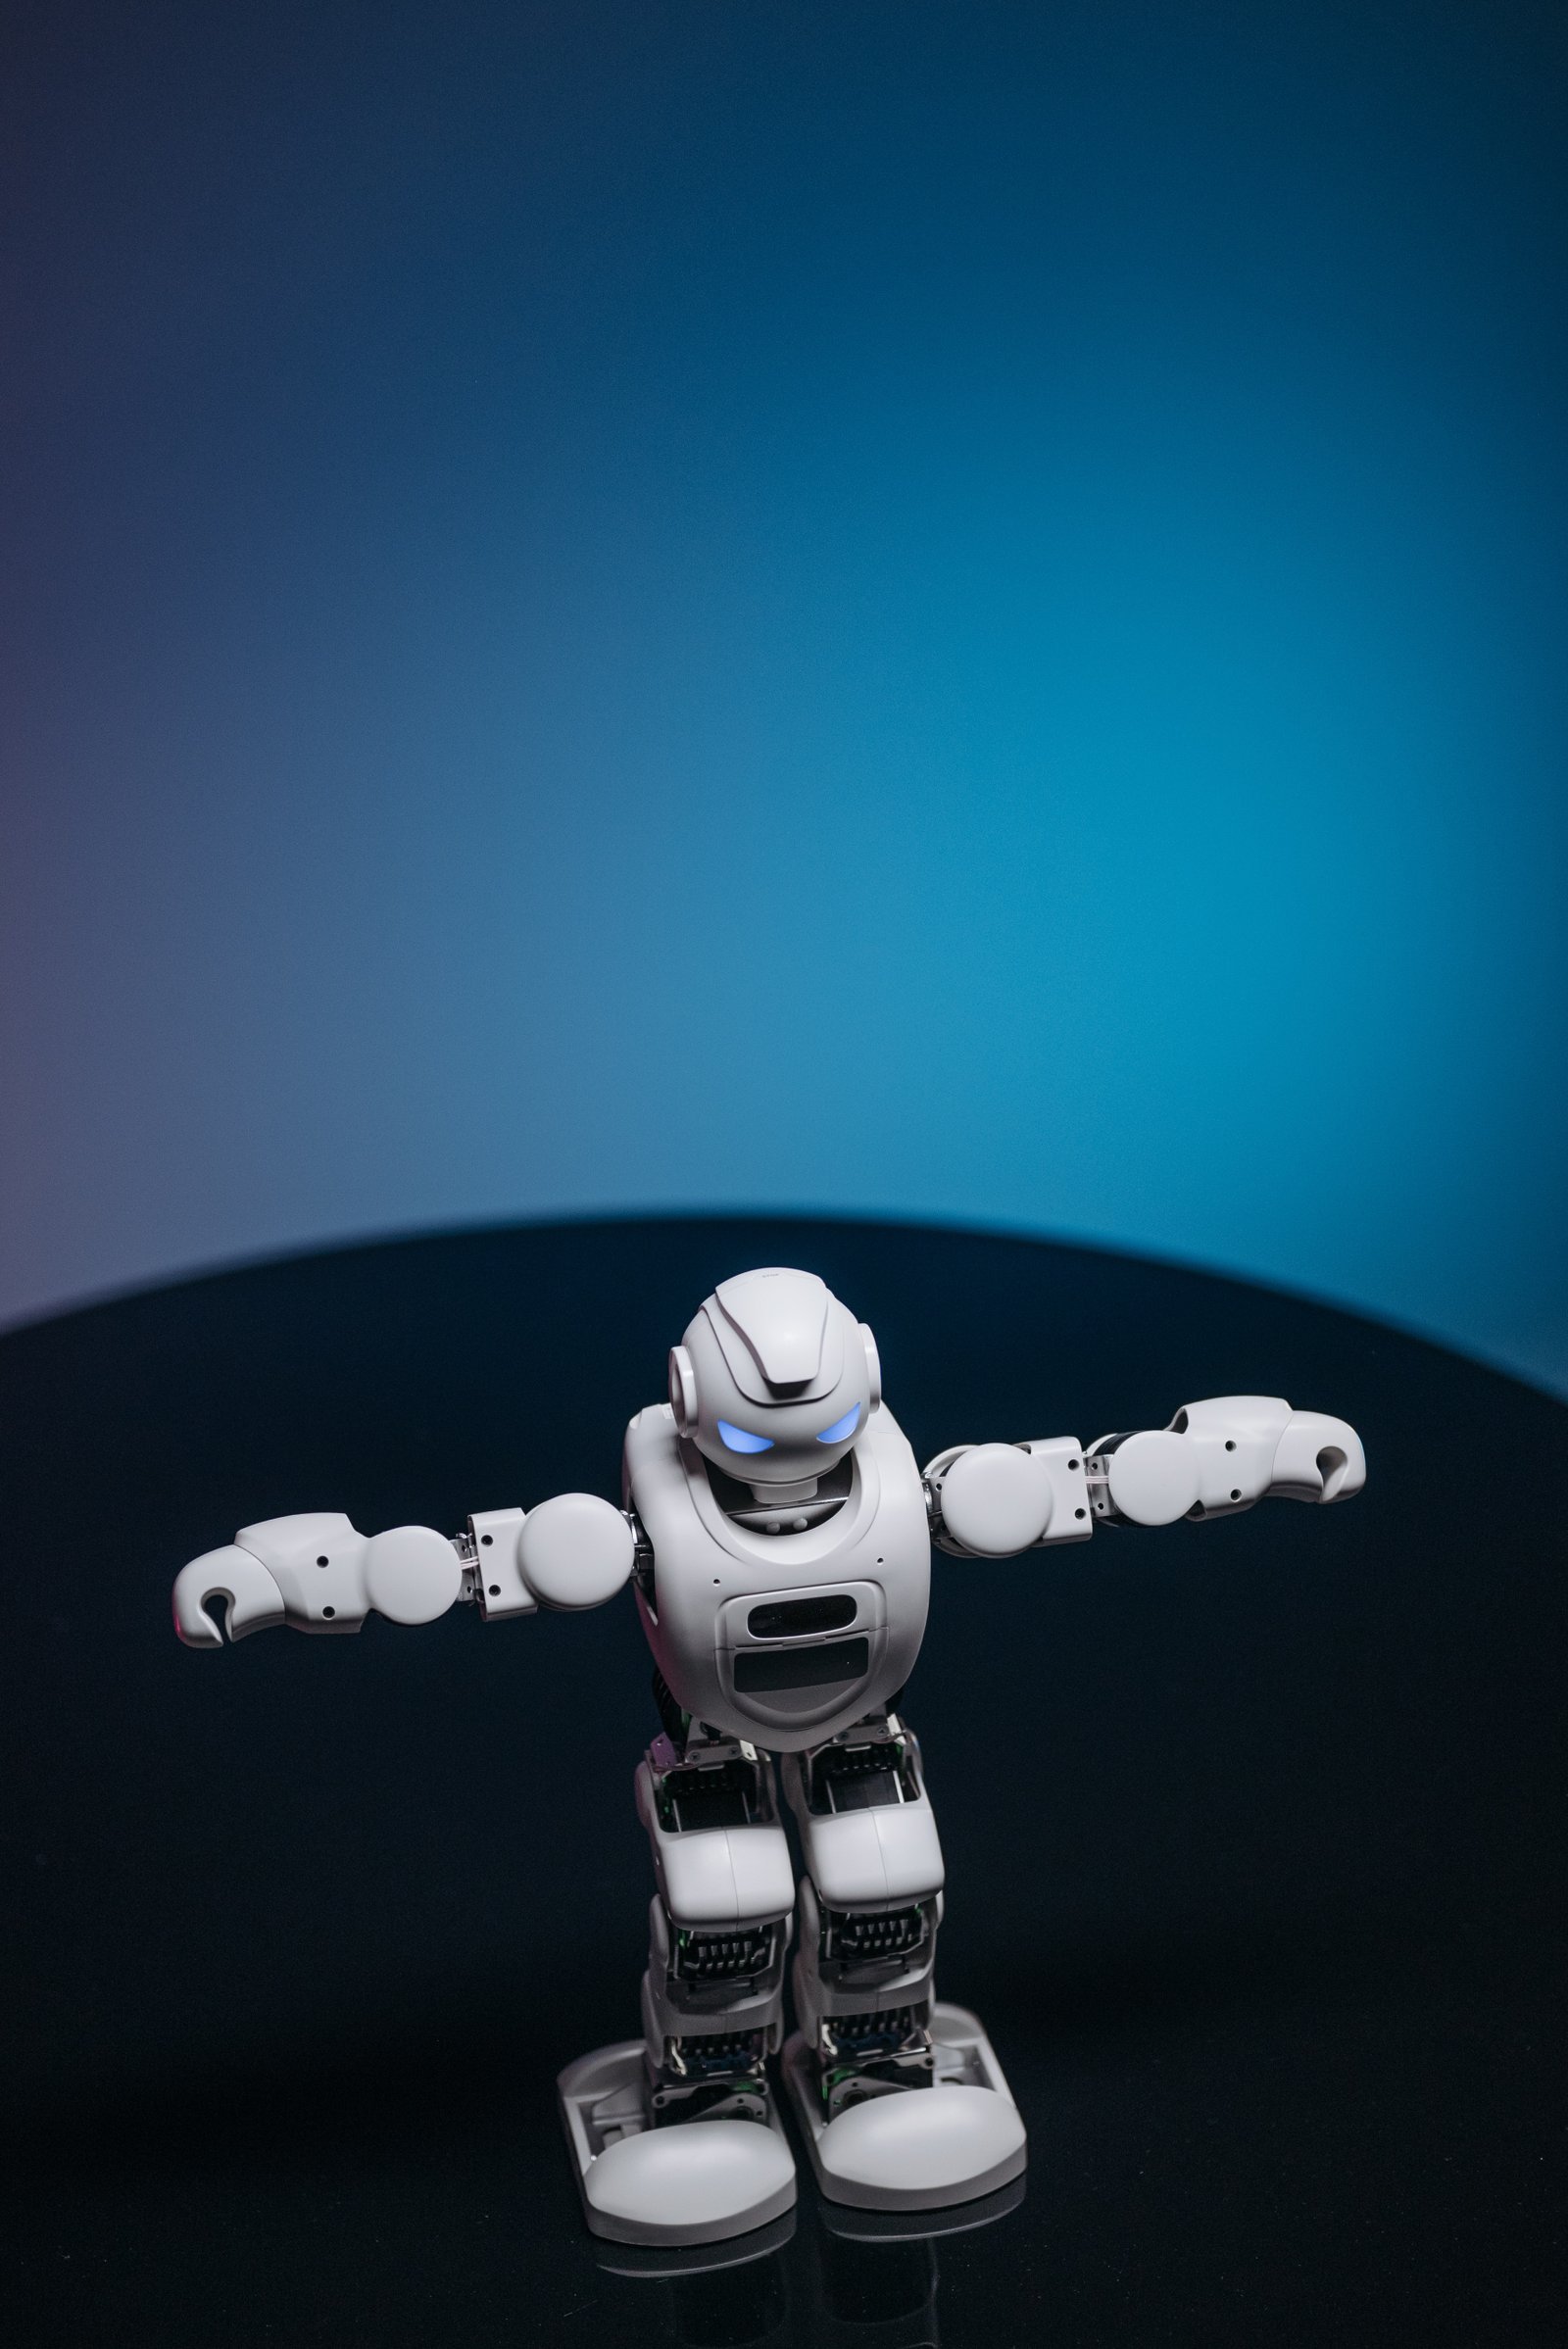
Introduction: Are you someone who loves do-it-yourself (DIY) projects? Are you also fascinated by the world of robotics? If so, then this blog post is for you! In this article, we will explore the exciting world of DIY robot toys and how you can create them using the innovative blanket primary technique. Prepare to delve into a world of creativity, learning, and endless fun! What is a Blanket Primary? Before we dive into the world of DIY robot toys, let's understand what a blanket primary is. In the field of robotics, a blanket primary refers to a technique where different types of sensors and actuators are attached to a flexible "blanket," which can be easily manipulated to create various robotic movements and functions. This flexible platform allows for easy modifications and customization, making it an excellent choice for creating DIY robot toys. Step 1: Gather Your Materials To begin your journey into the world of DIY robot toys, you'll need a few essential materials. Here's a list to get you started: 1. Arduino or Raspberry Pi microcontroller 2. Various sensors (such as ultrasonic, light, or infrared sensors) 3. Motor drivers 4. Servo motors 5. Batteries 6. Wires and connectors 7. Craft materials (cardboard, foam, or recycled materials) 8. Tools (scissors, glue, tape, etc.) Step 2: Plan Your Robot Design Before diving into the construction process, take some time to plan your robot's design. Decide on the number and placement of sensors, the type of movement you want, and any specific features you'd like to incorporate. This planning stage will help you avoid unnecessary mistakes and ensure a smoother construction process. Step 3: Build the Robot's Body Now comes the exciting part building your DIY robot toy's body! Let your creativity flow as you assemble your chosen materials into the desired shape and size. Cardboard, foam, or recycled materials can be easily cut, folded, and glued to create a sturdy and customizable body for your robot. Step 4: Attach Sensors and Actuators Once the body is complete, it's time to attach the sensors and actuators. Using the blanket primary technique, you can strategically place sensors like ultrasonic, light, or infrared sensors to allow your robot to interact with its environment. Consider incorporating servo motors for precise movement or motor drivers for more dynamic actions. Step 5: Wire and Connect Next, it's time to connect everything together. Use wires and connectors to establish connections between the microcontroller, sensors, actuators, and power source. Make sure to follow proper wiring practices and organize your connections to avoid confusion later on. Step 6: Program Your Robot Now comes the critical step of programming your DIY robot toy. Utilize the power of Arduino or Raspberry Pi microcontrollers to write code that controls the robot's behavior. Depending on your robot's features, you might program it to respond to sensory input, navigate obstacles, or even perform specific tasks using different sensors and actuators. Step 7: Test and Refine Once you've programmed your robot, it's time to test its functionality. Observe how your creation interacts with its surroundings, making note of any adjustments or refinements needed. Embrace the opportunity to learn and improve your design and coding skills. Conclusion: Congratulations! You've embarked on an exciting journey into the world of DIY robot toys using the blanket primary technique. With your newfound knowledge, you can now unleash your creativity and build unique, customized robots that will bring joy and wonder to anyone who encounters them. Remember, the possibilities are endless, and the only limit is your imagination. So, embrace your DIY spirit and get ready to take robotics to a whole new level! Have a visit at http://www.blanketprimary.com
Leave a Comment:
SEARCH
Recent News
- Robot Toys: Vancouver's Top Startups
- Robotic toys have become increasingly popular over the years, captivating both children and adults with their advanced features and interactive capabilities. With Vancouver being a hub for innovation and technology, it comes as no surprise that the city has established itself as a key player in the export and import of robot toys.
- Robot Toys: Exploring Vancouver's Best Companies
- Robots have become increasingly popular in recent years, not just as tools for industry and technology, but also as fun and educational toys for children. Robot toys offer a unique way for kids to engage with technology and learn about robotics and programming in a hands-on manner. In the UK, the government offers various business support programs to help companies that are involved in the production and distribution of robot toys.
- When it comes to exporting and importing robot toys in the UK, there are rules and regulations that need to be followed to ensure a smooth and compliant process. Robot toys have gained popularity in recent years due to advancements in technology, making them more interactive and engaging for children and adults alike. If you are a manufacturer, distributor, or retailer looking to export or import robot toys in the UK, it's important to be aware of the rules that govern this industry.
- The town of Tataouine in Tunisia has recently seen a rise in popularity of robot toys among children. These interactive toys have become a favorite among parents and kids alike for their fun features and entertainment value.
- Robotic toys have been capturing the attention of both children and adults in recent years, with their advanced features and interactive capabilities. As technology continues to evolve, the world of robot toys is also seeing some exciting trends that are shaping the industry. Let's take a closer look at some of the emerging trends in robot toys.
- Robots have long captured the imagination of children and adults alike with their futuristic and interactive capabilities. When it comes to robot toys, there are some top Irish companies that excel in creating innovative and engaging products for all ages.
READ MORE
8 months ago Category : robottx

Robot Toys: Vancouver's Top Startups
Read More →8 months ago Category : robottx

Robotic toys have become increasingly popular over the years, captivating both children and adults with their advanced features and interactive capabilities. With Vancouver being a hub for innovation and technology, it comes as no surprise that the city has established itself as a key player in the export and import of robot toys.
Read More →8 months ago Category : robottx

Robot Toys: Exploring Vancouver's Best Companies
Read More →8 months ago Category : robottx
