How to Build DIY Drone Remote Control Robot Toys: A Step-by-Step Guide
Category : robottx | Sub Category : robottx Posted on 2023-10-30 21:24:53
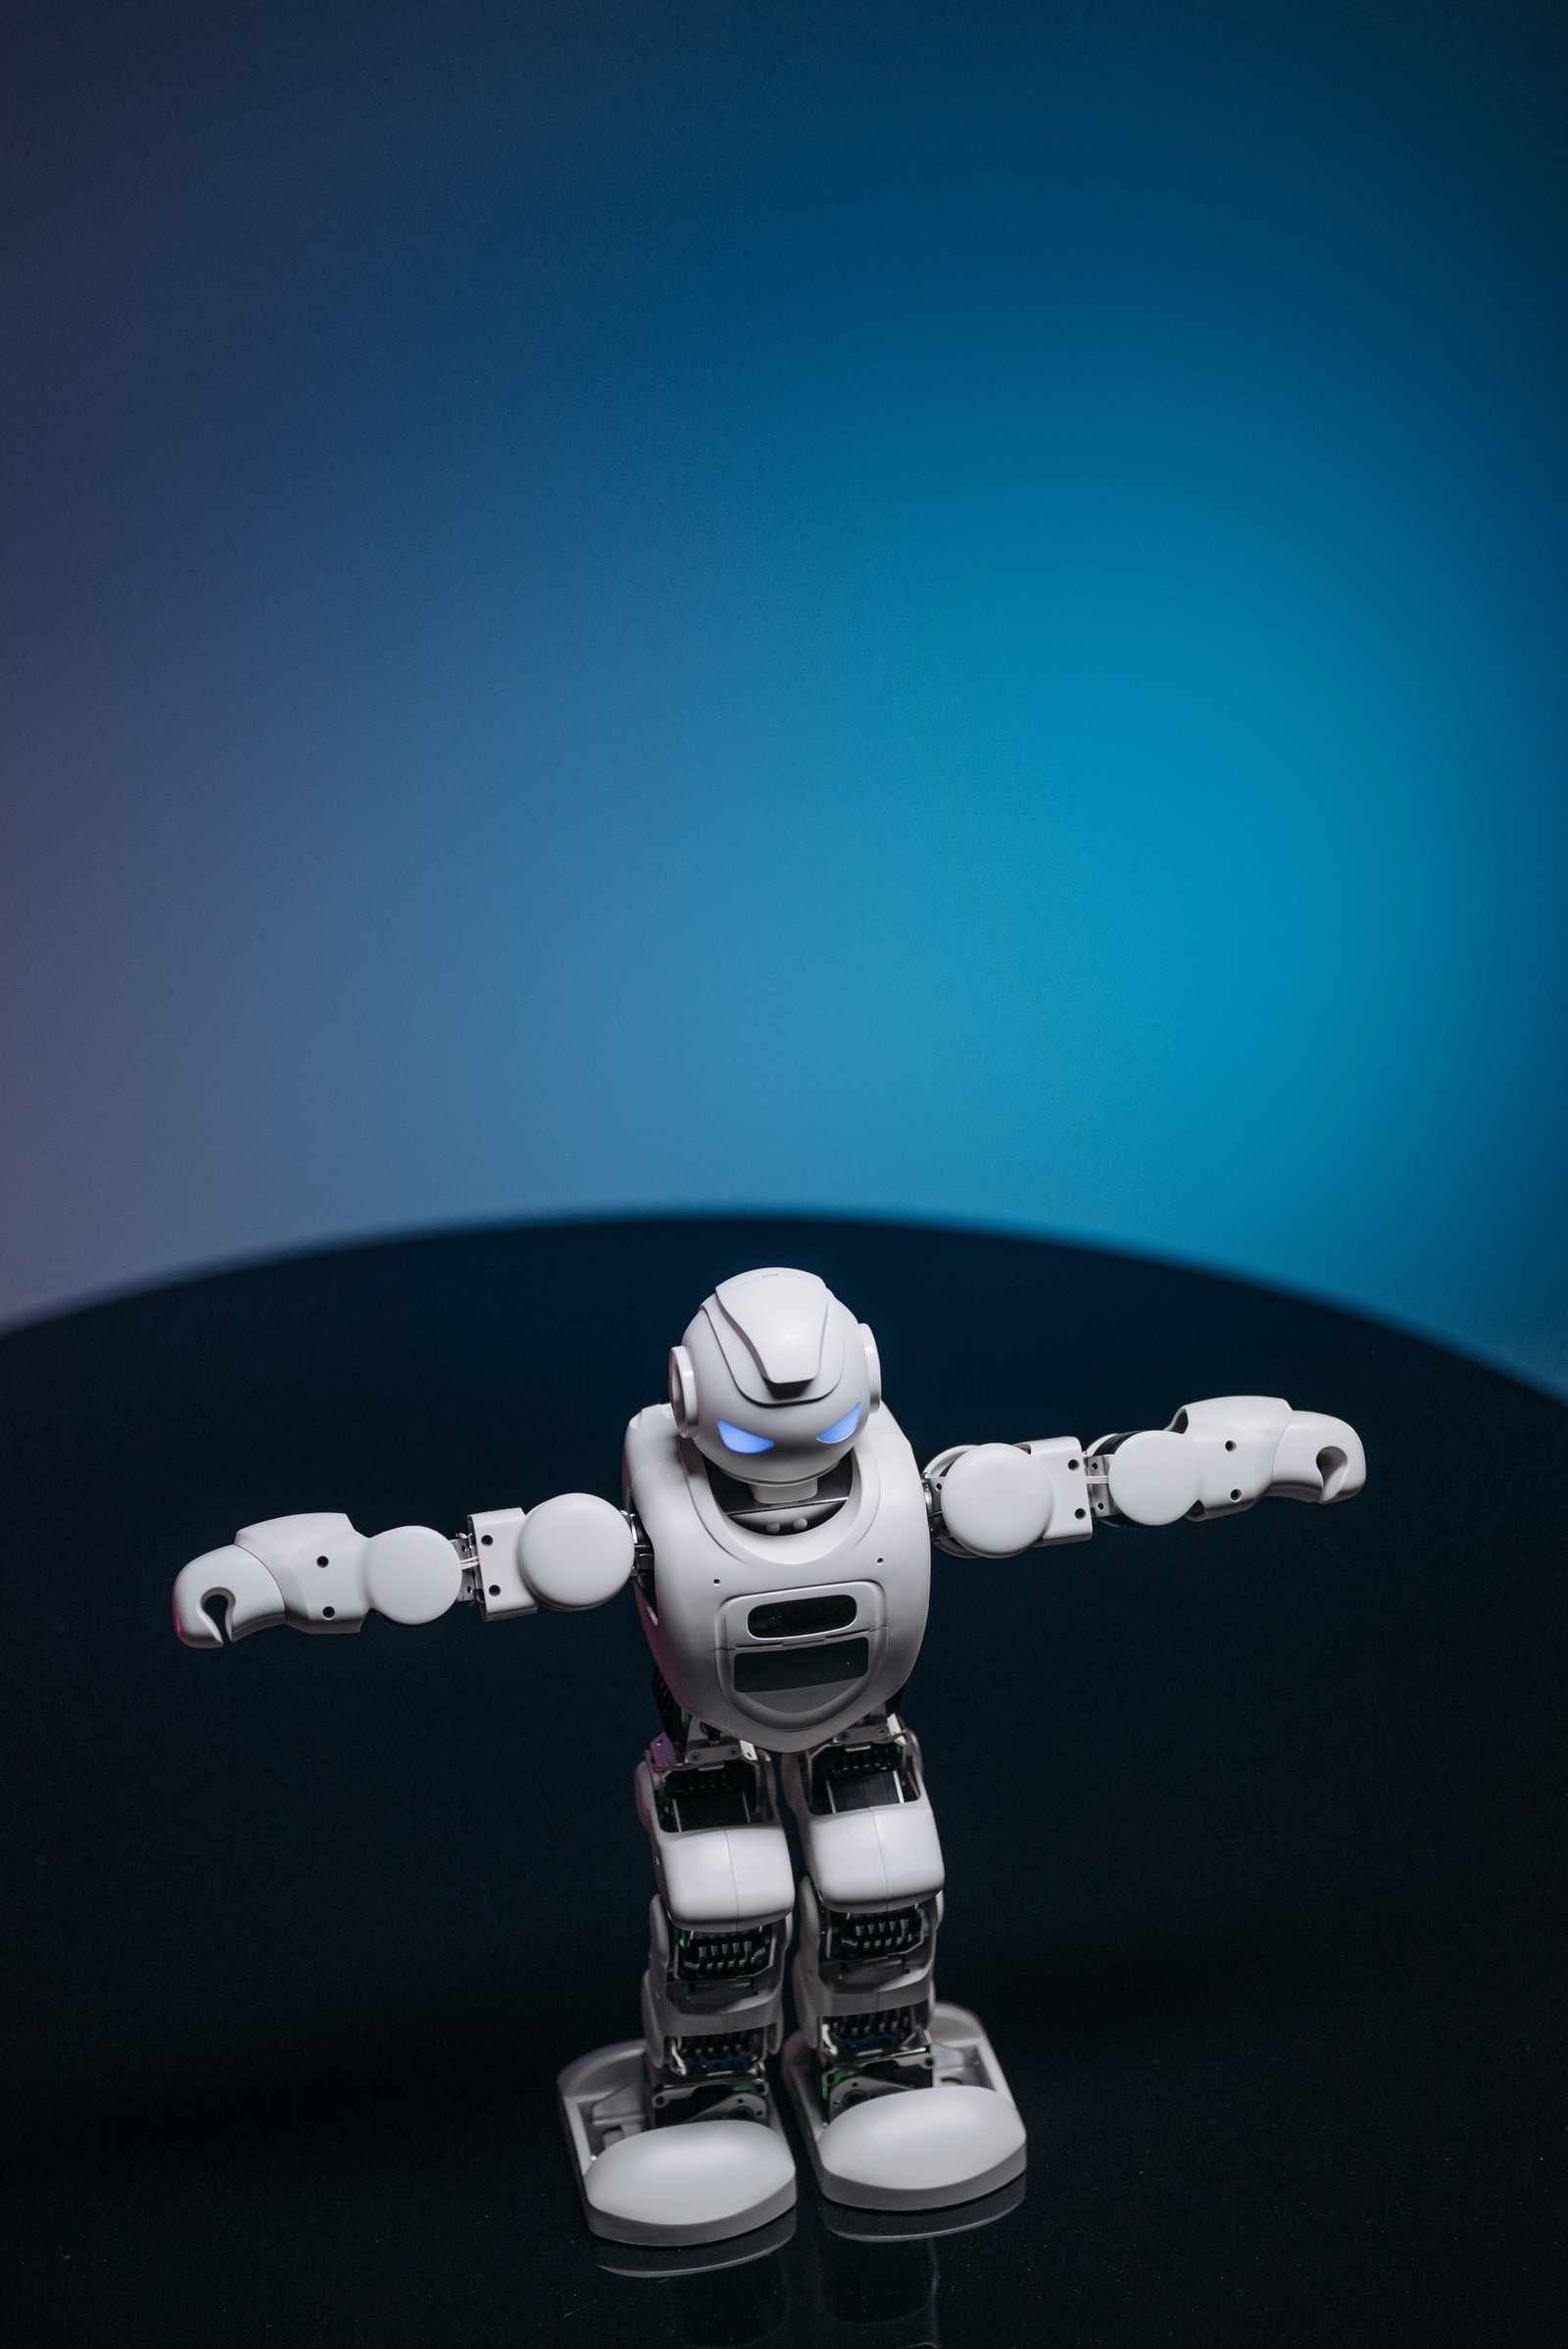
Introduction: Remote control robot toys have always fascinated technology enthusiasts and hobbyists alike. With advancements in technology, it is now possible to build your very own DIY drone remote control robot toys. In this guide, we will take you through the step-by-step process of building these impressive gadgets, allowing you to unleash your creativity and showcase your technical skills. Materials Needed: - Microcontroller (Arduino or Raspberry Pi) - Remote control transmitter and receiver - Motors and motor controllers - Drone frame or robot chassis - Propellers or wheels - Battery pack and power supply - Various sensors (optional) Step 1: Choose Your Platform: First and foremost, you need to decide whether you want to build a drone or a robot. Drones offer the thrill of flying, while robots provide a versatile ground-based experience. Once you have made your decision, select an appropriate platform accordingly. Step 2: Select the Microcontroller: The microcontroller acts as the brain of your DIY drone remote control robot toy. Popular choices include the Arduino and Raspberry Pi. Consider the features you require, such as processing power and connectivity options, to make an informed choice. Step 3: Assemble the Hardware: Next, assemble the necessary hardware components. Attach the microcontroller to the drone frame or robot chassis, ensuring proper stability and structural integrity. Connect motor controllers to the motors and wire them to the microcontroller. If building a drone, install propellers, and if building a robot, attach wheels for locomotion. Step 4: Configure the Remote Control System: To enable remote control, you will need a transmitter and receiver. Connect the receiver to the microcontroller and ensure compatibility between the remote control transmitter and receiver. Configure the transmitter to control the desired functions of your DIY drone or robot toy, such as movement, speed, and direction. Step 5: Power Supply and Battery Pack: Select a suitable power supply and battery pack that can provide enough energy to operate your DIY project. Ensure that the voltage and current ratings are compatible with the hardware components utilized. It is vital to prioritize safety by using appropriate power connectors and circuits to prevent any electrical mishaps. Step 6: Advanced Features (Optional): If you want to enhance the capabilities of your DIY drone remote control robot toy, consider adding sensors. Sensors such as ultrasonic, infrared, or gyroscopes, enable proximity detection, obstacle avoidance, and precise navigation. These additional features can make your creation even more interactive and intelligent. Step 7: Programming and Testing: Write the necessary code for your microcontroller to control the motors, receive remote control signals, and implement any advanced features. Upload the code to the microcontroller and carry out thorough testing to ensure everything functions as intended. Make any necessary adjustments or troubleshoot any issues that may arise during this stage. Conclusion: Building your own DIY drone remote control robot toys can be an incredibly rewarding experience. With this step-by-step guide, you can unleash your creativity and technical skills to create truly impressive gadgets. Remember to prioritize safety throughout the entire build process and enjoy the journey as you bring your ideas to life. So, grab your tools, gather the required materials, and get ready to embark on an exciting DIY adventure! For the latest research, visit http://www.s6s.org
Leave a Comment:
SEARCH
Recent News
- Robot Toys: Vancouver's Top Startups
- Robotic toys have become increasingly popular over the years, captivating both children and adults with their advanced features and interactive capabilities. With Vancouver being a hub for innovation and technology, it comes as no surprise that the city has established itself as a key player in the export and import of robot toys.
- Robot Toys: Exploring Vancouver's Best Companies
- Robots have become increasingly popular in recent years, not just as tools for industry and technology, but also as fun and educational toys for children. Robot toys offer a unique way for kids to engage with technology and learn about robotics and programming in a hands-on manner. In the UK, the government offers various business support programs to help companies that are involved in the production and distribution of robot toys.
- When it comes to exporting and importing robot toys in the UK, there are rules and regulations that need to be followed to ensure a smooth and compliant process. Robot toys have gained popularity in recent years due to advancements in technology, making them more interactive and engaging for children and adults alike. If you are a manufacturer, distributor, or retailer looking to export or import robot toys in the UK, it's important to be aware of the rules that govern this industry.
- The town of Tataouine in Tunisia has recently seen a rise in popularity of robot toys among children. These interactive toys have become a favorite among parents and kids alike for their fun features and entertainment value.
- Robotic toys have been capturing the attention of both children and adults in recent years, with their advanced features and interactive capabilities. As technology continues to evolve, the world of robot toys is also seeing some exciting trends that are shaping the industry. Let's take a closer look at some of the emerging trends in robot toys.
- Robots have long captured the imagination of children and adults alike with their futuristic and interactive capabilities. When it comes to robot toys, there are some top Irish companies that excel in creating innovative and engaging products for all ages.
READ MORE
8 months ago Category : robottx

Robot Toys: Vancouver's Top Startups
Read More →8 months ago Category : robottx

Robotic toys have become increasingly popular over the years, captivating both children and adults with their advanced features and interactive capabilities. With Vancouver being a hub for innovation and technology, it comes as no surprise that the city has established itself as a key player in the export and import of robot toys.
Read More →8 months ago Category : robottx

Robot Toys: Exploring Vancouver's Best Companies
Read More →8 months ago Category : robottx
