How to Build DIY Remote-Controlled Robot Toys for Your Home
Category : robottx | Sub Category : robottx Posted on 2023-10-30 21:24:53
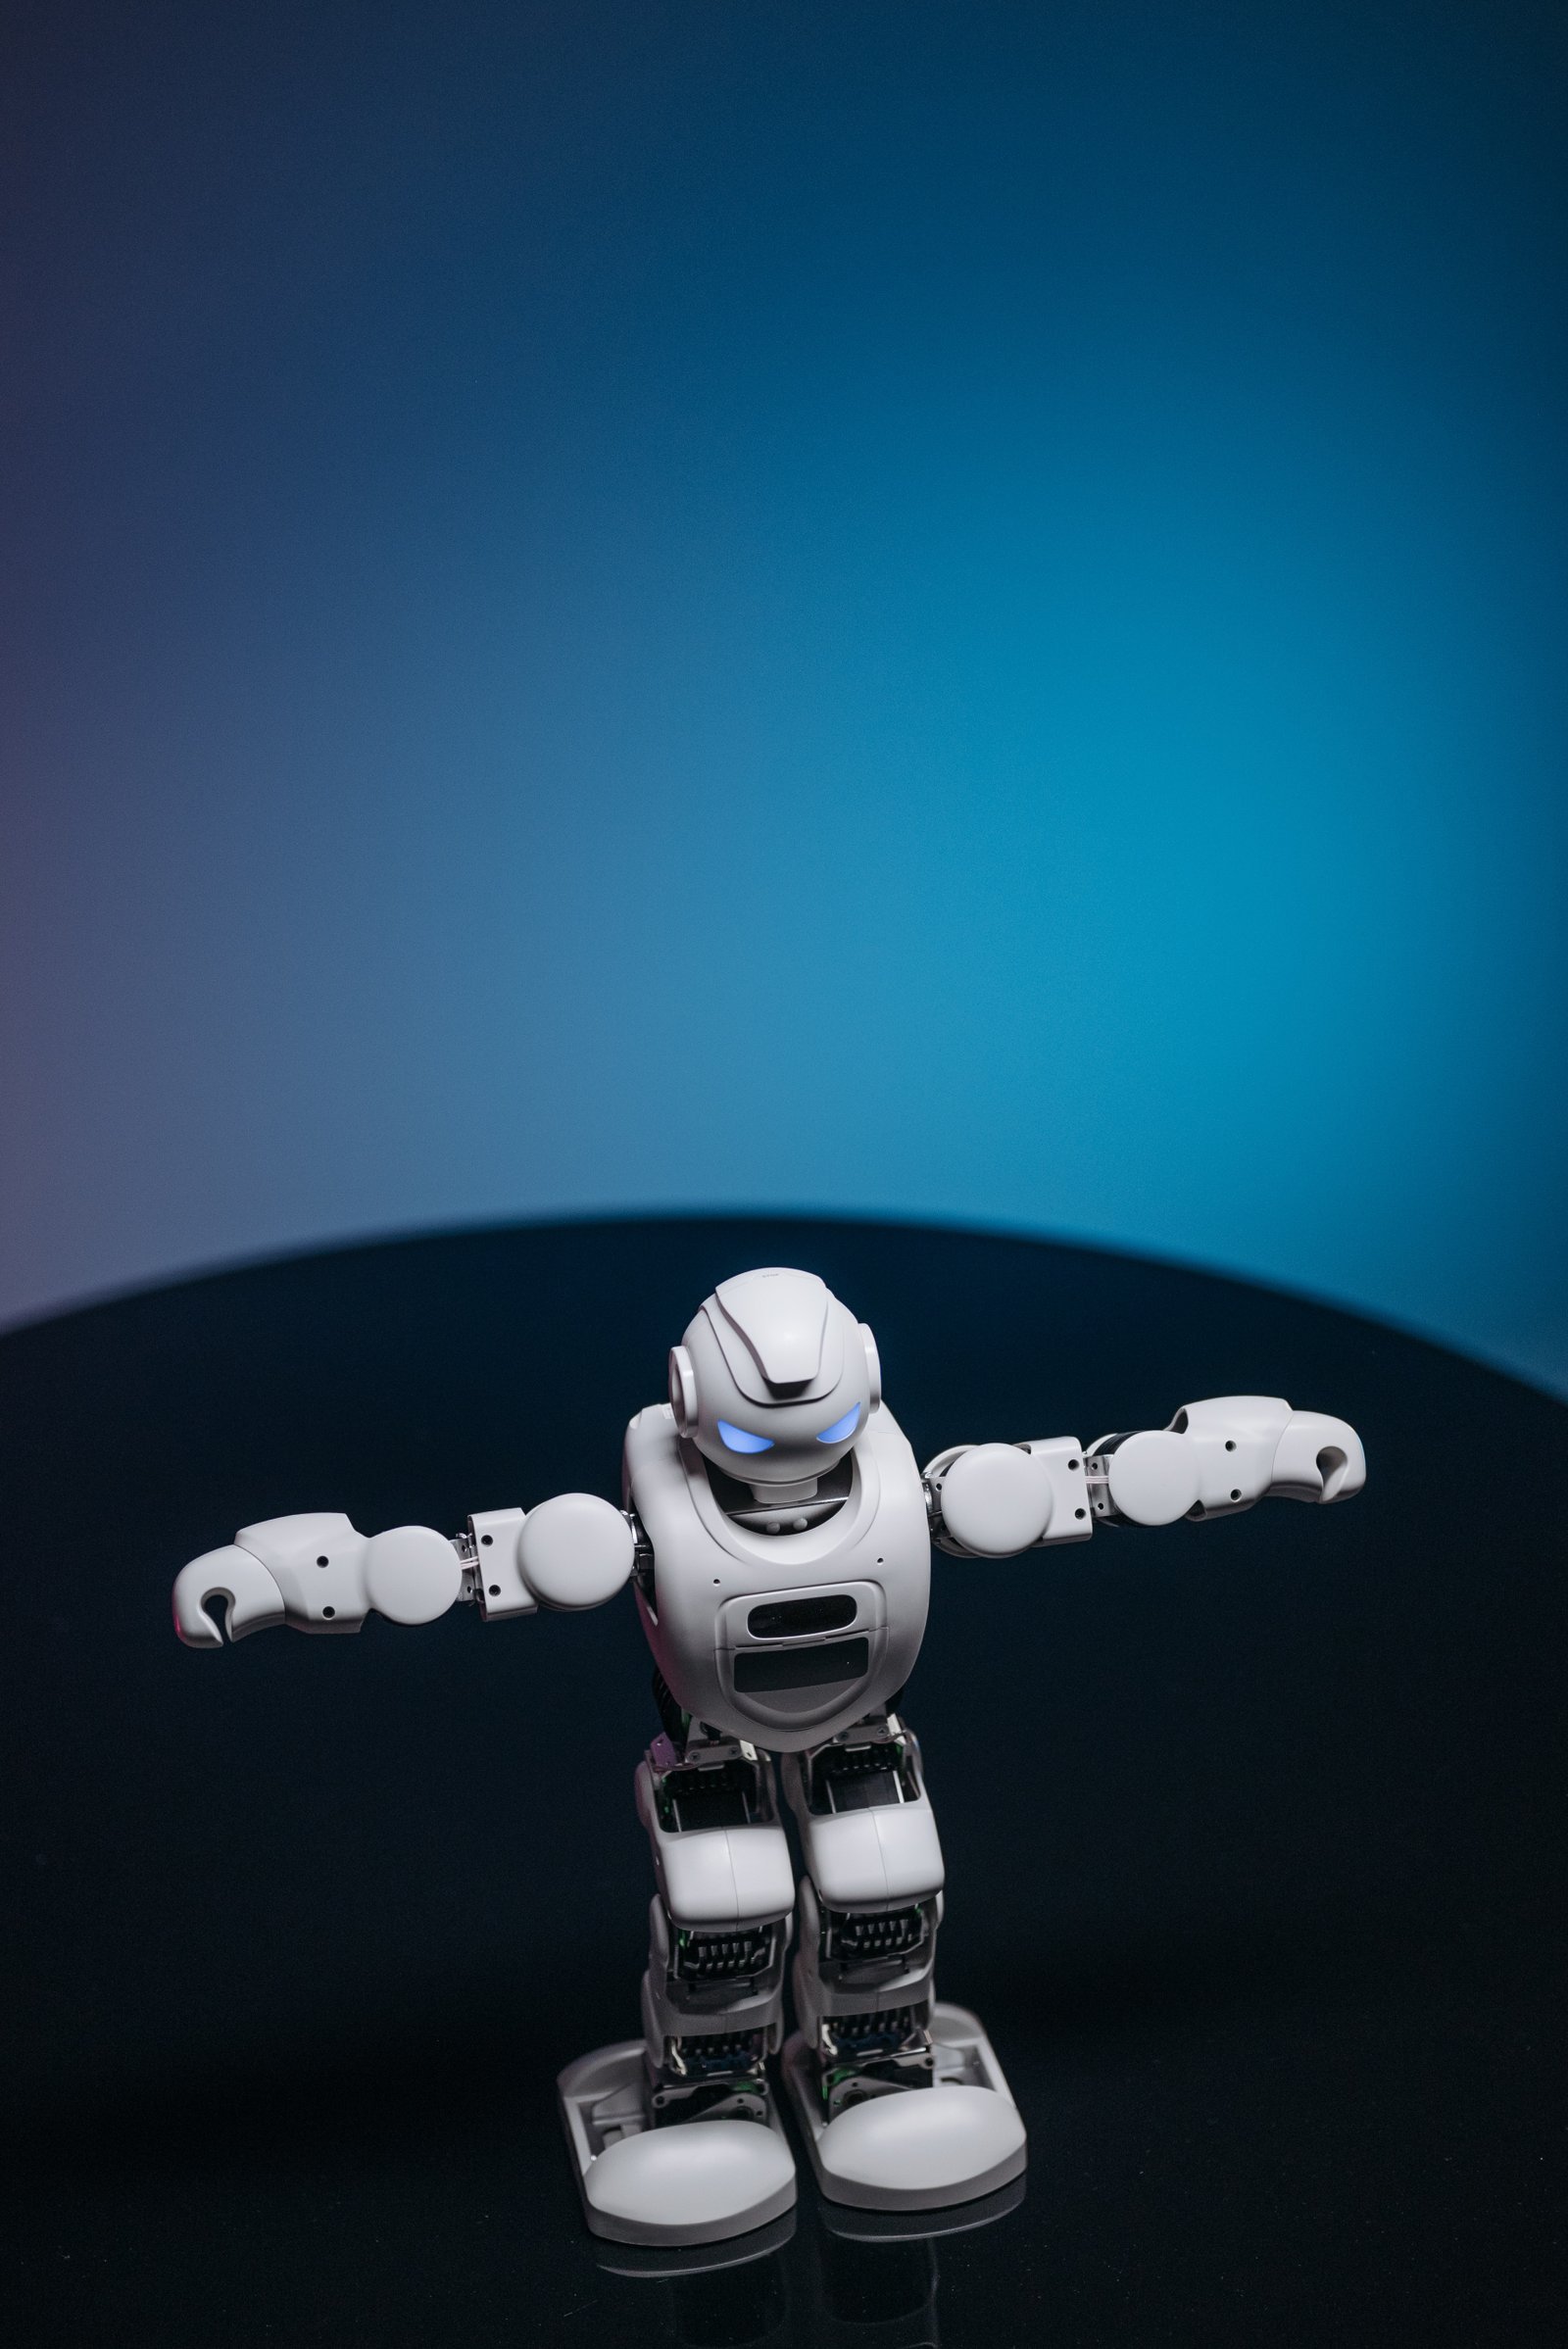
Introduction: Wouldn't it be fascinating to have your very own remote-controlled robot toys zooming around your home? Building these DIY projects is not only a fun and engaging activity but also a great way to explore the world of robotics. In this blog post, we'll guide you step-by-step on how to create your very own remote-controlled robot toys for your home. Materials needed: 1. Microcontroller (such as Arduino or Raspberry Pi) 2. Motor drivers 3. DC motors 4. Chassis or frame 5. Remote control (such as a smartphone) 6. Batteries and battery holders 7. Wires and connectors 8. Miscellaneous tools (screwdriver, soldering iron, prototyping board) Step 1: Design and Planning Before starting any project, it's crucial to plan your design. Think about the size and shape of your robot and the features you want to incorporate. Sketch out your ideas on paper and make sure to consider the size and placement of the components. Step 2: Assembling the Chassis To start, you'll need a sturdy chassis or frame to house all the components of your robot. You can use materials like acrylic sheets or even recycle old toys to create a unique and custom design. Consider using a 3D printer if you have access to one to give your robot a professional look. Step 3: Installing Motors and Motor Drivers Attach the motors to the chassis using screws or adhesive. Make sure they are securely fastened. Connect the motor drivers to the microcontroller as per their respective instructions. Motor drivers act as an interface between the microcontroller and the motors, allowing you to control their speed and movement. Step 4: Connecting the Remote Control Using your microcontroller (Arduino or Raspberry Pi), program it to communicate with a remote control device such as a smartphone, Bluetooth controller, or a dedicated remote. You can find several libraries and tutorials online that will help you with this step. Step 5: Wiring and Connections Carefully connect the motors, motor drivers, and microcontroller using wires and connectors. Ensure all the connections are tight and double-check your wiring diagram to avoid any mistakes. Consider using a prototyping board or breadboard to keep things organized. Step 6: Powering the Robot Select appropriate batteries to power your robot, considering the voltage requirements of the motors and microcontroller. Connect the battery holders to the microcontroller and motor drivers, ensuring all the polarities match. Test the robot's functionality by turning it on and seeing if the motors respond to the remote control. Step 7: Testing and Troubleshooting Once everything is connected, test your remote-controlled robot to ensure it is working as expected. Pay attention to any issues with movement, responsiveness, or connectivity. If you encounter any problems, double-check your wiring and code, and consult online resources or forums for troubleshooting help. Step 8: Customization and Enhancement Once you have a functioning remote-controlled robot, consider adding additional features like LED lights, sensors, or even a camera. Personalize your robot with paint or decals to give it a unique look. Conclusion: Creating your very own remote-controlled robot toys is an exciting and rewarding DIY project that will bring endless hours of fun and exploration. With a little planning, patience, and creativity, you can build a unique robot that will entertain and amaze your family and friends. So, grab your tools and get ready to embark on an extraordinary journey into the world of robotics! Have a visit at http://www.svop.org More in http://www.mimidate.com
Leave a Comment:
SEARCH
Recent News
- Robot Toys: Vancouver's Top Startups
- Robotic toys have become increasingly popular over the years, captivating both children and adults with their advanced features and interactive capabilities. With Vancouver being a hub for innovation and technology, it comes as no surprise that the city has established itself as a key player in the export and import of robot toys.
- Robot Toys: Exploring Vancouver's Best Companies
- Robots have become increasingly popular in recent years, not just as tools for industry and technology, but also as fun and educational toys for children. Robot toys offer a unique way for kids to engage with technology and learn about robotics and programming in a hands-on manner. In the UK, the government offers various business support programs to help companies that are involved in the production and distribution of robot toys.
- When it comes to exporting and importing robot toys in the UK, there are rules and regulations that need to be followed to ensure a smooth and compliant process. Robot toys have gained popularity in recent years due to advancements in technology, making them more interactive and engaging for children and adults alike. If you are a manufacturer, distributor, or retailer looking to export or import robot toys in the UK, it's important to be aware of the rules that govern this industry.
- The town of Tataouine in Tunisia has recently seen a rise in popularity of robot toys among children. These interactive toys have become a favorite among parents and kids alike for their fun features and entertainment value.
- Robotic toys have been capturing the attention of both children and adults in recent years, with their advanced features and interactive capabilities. As technology continues to evolve, the world of robot toys is also seeing some exciting trends that are shaping the industry. Let's take a closer look at some of the emerging trends in robot toys.
- Robots have long captured the imagination of children and adults alike with their futuristic and interactive capabilities. When it comes to robot toys, there are some top Irish companies that excel in creating innovative and engaging products for all ages.
READ MORE
8 months ago Category : robottx

Robot Toys: Vancouver's Top Startups
Read More →8 months ago Category : robottx

Robotic toys have become increasingly popular over the years, captivating both children and adults with their advanced features and interactive capabilities. With Vancouver being a hub for innovation and technology, it comes as no surprise that the city has established itself as a key player in the export and import of robot toys.
Read More →8 months ago Category : robottx

Robot Toys: Exploring Vancouver's Best Companies
Read More →8 months ago Category : robottx
