Elevate Your Home Decor with DIY Robot Toys
Category : robottx | Sub Category : robottx Posted on 2023-10-30 21:24:53
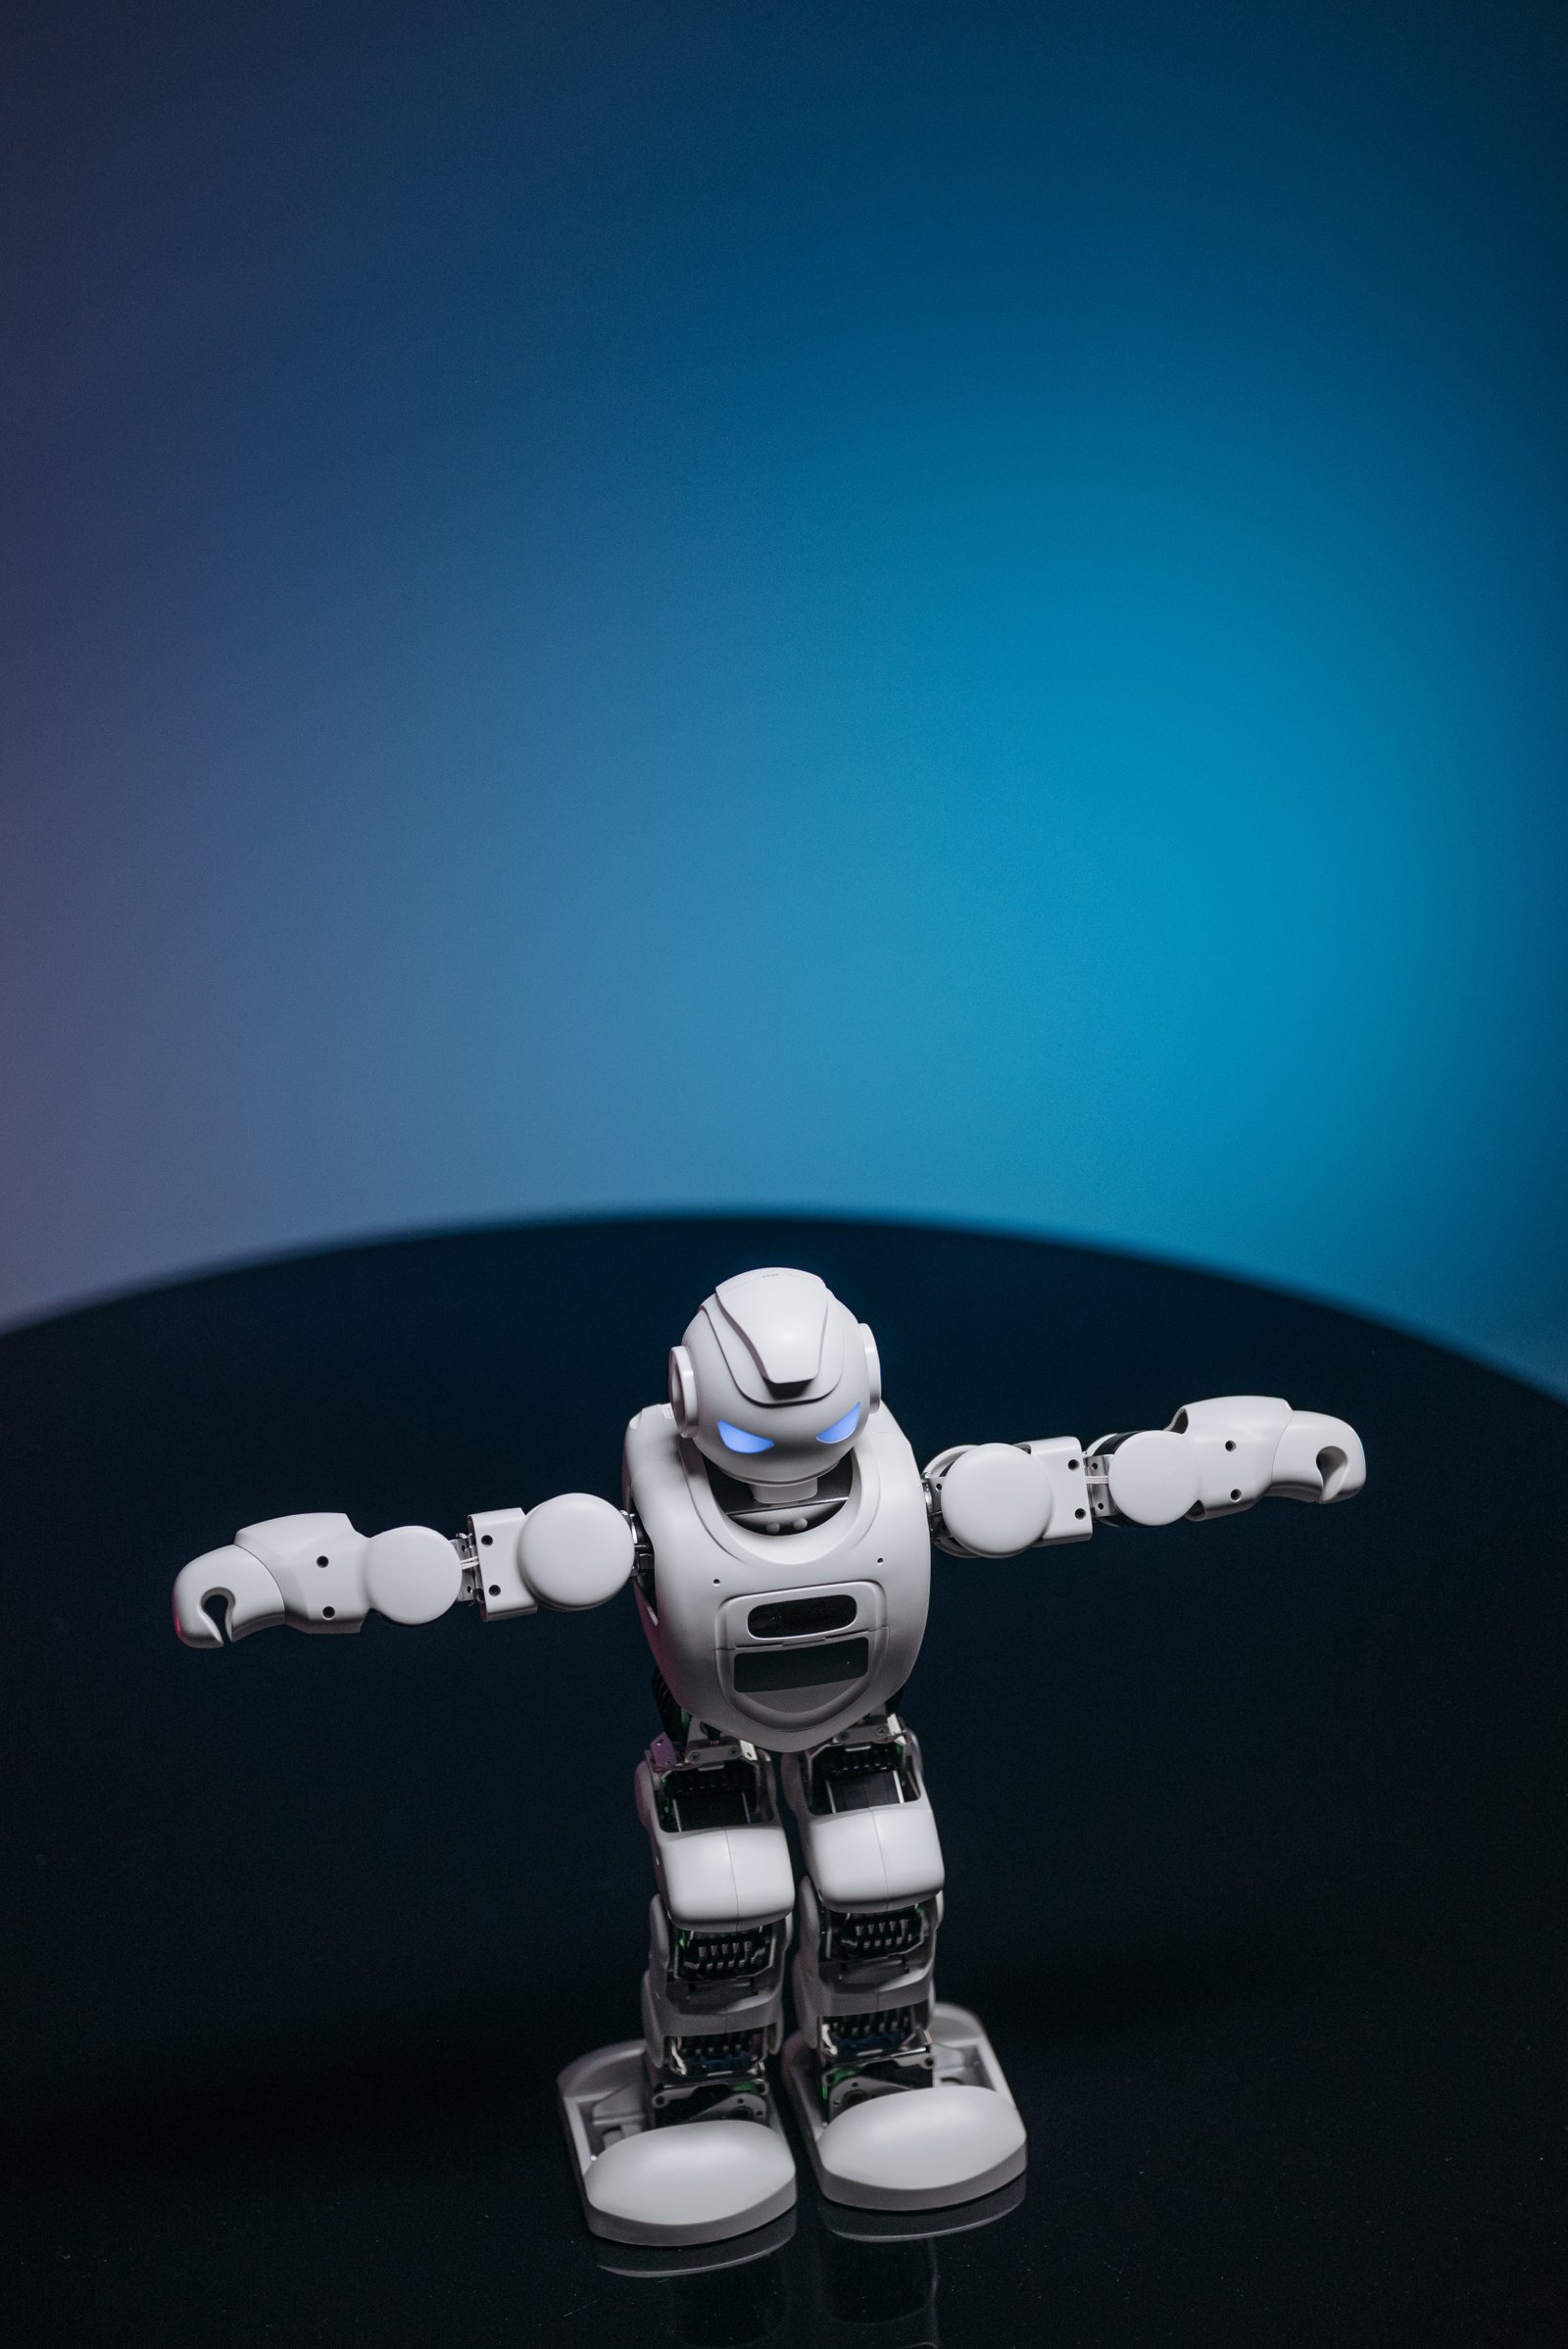
Introduction: In the world of home decor, finding unique and creative pieces to elevate your space can be a thrilling quest. What if we told you that adding a touch of futuristic charm to your home is as simple as crafting your own DIY robot toys? These adorable and customizable creations not only add a playful element to your decor but also showcase your creativity and skills. In this blog post, we will explore how DIY robot toys can enhance your home decoration and provide step-by-step instructions for creating your own one-of-a-kind pieces. 1. Why DIY Robot Toys? - Unleash your creativity: DIY robot toys offer endless possibilities for customization, allowing you to design and assemble them according to your taste and style. - Unique decor pieces: Stand out from the crowd with one-of-a-kind robot toys that serve as conversation starters and eye-catching elements in any room. - Budget-friendly: Creating your own robot toys can save you money compared to purchasing ready-made decor items. 2. Materials and Tools Needed: - Basic craft supplies such as cardboard, paper, glue, scissors, and markers. - Optional materials like small electronic components, paint, and other decorative items based on your design preferences. 3. Step-by-Step Guide to Creating DIY Robot Toys: - Choose a design: Decide on the type of robot toy you want to create - humanoid, animal-inspired, or a completely unique design. - Gather materials: Prepare the necessary materials and tools based on your chosen design. - Sketch and plan: Create a rough sketch of your robot toy's design, including dimensions and features. This step helps you visualize the final product and make necessary adjustments. - Assemble the body: Cut out the necessary shapes from the cardboard and glue them together to form the body structure. - Add details: Decorate the robot toy with paper, paint, or other materials to give it personality and character. - Optional electronics: If you want to take your robot toy to the next level, consider adding small electronic components like LED lights or simple circuitry to create blinking eyes or moving parts. - Display and enjoy: Find the perfect spot in your home to display your newly created DIY robot toy and bask in the admiration of your family and friends. 4. Incorporating DIY Robot Toys into Home Decor: - Shelf displays: Arrange a collection of DIY robot toys on floating shelves or bookcases, creating a unique focal point in any room. - Desk companions: Place a small robot toy on your desk as a cheerful companion and an inspiring reminder of your creativity. - Wall art: Transform your DIY robot toys into wall art by attaching them to a canvas or frame. Hang them as a gallery wall or use them as standalone pieces. - Mobiles and hanging decor: Create a whimsical mobile by suspending a group of robot toys from a branch or a creative hanging mechanism. This adds movement and visual interest to any room. Conclusion: With a little imagination and some basic craft supplies, you can take your home decor to a whole new level with DIY robot toys. These clever and customizable creations not only bring joy and playfulness but also reflect your personal style and creativity. So, why settle for ordinary when you can have extraordinary? Get started on your DIY robot toy adventure and watch as your home comes alive with futuristic charm and character. More about this subject in http://www.svop.org
Leave a Comment:
SEARCH
Recent News
- Robot Toys: Vancouver's Top Startups
- Robotic toys have become increasingly popular over the years, captivating both children and adults with their advanced features and interactive capabilities. With Vancouver being a hub for innovation and technology, it comes as no surprise that the city has established itself as a key player in the export and import of robot toys.
- Robot Toys: Exploring Vancouver's Best Companies
- Robots have become increasingly popular in recent years, not just as tools for industry and technology, but also as fun and educational toys for children. Robot toys offer a unique way for kids to engage with technology and learn about robotics and programming in a hands-on manner. In the UK, the government offers various business support programs to help companies that are involved in the production and distribution of robot toys.
- When it comes to exporting and importing robot toys in the UK, there are rules and regulations that need to be followed to ensure a smooth and compliant process. Robot toys have gained popularity in recent years due to advancements in technology, making them more interactive and engaging for children and adults alike. If you are a manufacturer, distributor, or retailer looking to export or import robot toys in the UK, it's important to be aware of the rules that govern this industry.
- The town of Tataouine in Tunisia has recently seen a rise in popularity of robot toys among children. These interactive toys have become a favorite among parents and kids alike for their fun features and entertainment value.
- Robotic toys have been capturing the attention of both children and adults in recent years, with their advanced features and interactive capabilities. As technology continues to evolve, the world of robot toys is also seeing some exciting trends that are shaping the industry. Let's take a closer look at some of the emerging trends in robot toys.
- Robots have long captured the imagination of children and adults alike with their futuristic and interactive capabilities. When it comes to robot toys, there are some top Irish companies that excel in creating innovative and engaging products for all ages.
READ MORE
8 months ago Category : robottx

Robot Toys: Vancouver's Top Startups
Read More →8 months ago Category : robottx

Robotic toys have become increasingly popular over the years, captivating both children and adults with their advanced features and interactive capabilities. With Vancouver being a hub for innovation and technology, it comes as no surprise that the city has established itself as a key player in the export and import of robot toys.
Read More →8 months ago Category : robottx

Robot Toys: Exploring Vancouver's Best Companies
Read More →8 months ago Category : robottx
